
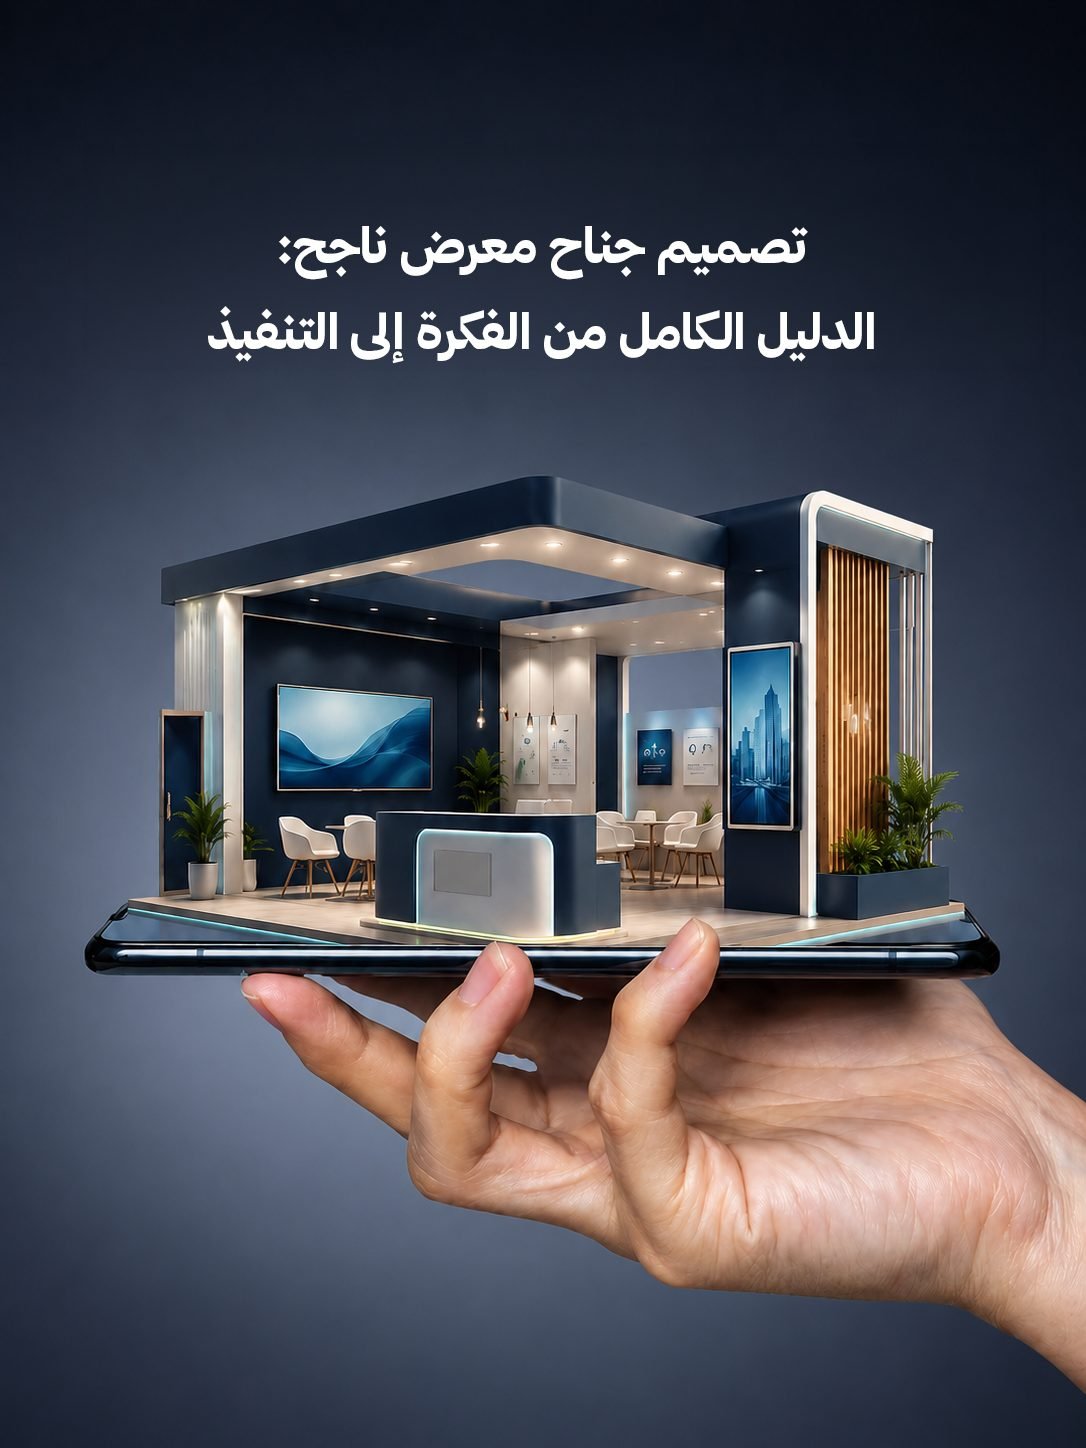
Booth Design
Designing a Successful Exhibition Booth
The Complete Guide From Concept to Execution
In a hall packed with dozens or hundreds of booths, an exhibitor doesn't have long to make a first impression. That's why a successful booth design doesn't depend on space, budget, or screen count alone — it depends on the booth's ability to draw the visitor in, communicate the brand's message, and convert interest into engagement and business opportunities.
A successful booth isn't temporary decor; it's a marketing space and a live experience representing the company's identity in front of an audience that may not know it yet. This is where the importance of choosing a team that combines design, production, an understanding of visitor behavior, and operational precision begins.
In this guide, we walk through the stages of designing an exhibition booth from the first idea to execution day, with practical examples tied to projects and experiences in major event environments like LEAP and KAFD.
What makes an exhibition booth successful?
A successful booth achieves four objectives at once:
- Draws attention from an appropriate distance.
- Communicates the company's identity and message quickly.
- Gives the visitor a reason to step in and engage.
- Delivers a measurable business outcome.
The goal might be generating leads, launching a product, holding meetings, building brand perception, or explaining a complex technical solution. That's why there's no single design formula that fits every company — design must start from the objective and the audience, not just the form.
Before designing: define the booth's objective
The first question that needs answering is: what do we want the booth to achieve? Priorities differ depending on the participation goal, and here's a quick guide to what a booth actually needs for each objective:
| Participation Goal | What the Booth Actually Needs |
|---|---|
| Launching a product | A clear display area and a hands-on experience |
| Generating leads | A registration point and a comfortable conversation space |
| Holding meetings | Quiet meeting rooms or areas |
| Building brand awareness | A strong identity and a memorable message |
| Explaining a technical solution | Interactive screens and simplified experiences |
| Direct sales | A clear product display and a defined path to a decision |
| Hosting partners or officials | Upscale hospitality and appropriate privacy |
If the objective isn't clear, you may end up with a beautiful booth that doesn't serve sales, relationships, or audience experience.
Stage One: Understanding the Exhibition and the Audience
You can't design an effective booth without understanding the environment it will operate in. Start by gathering the following information:
- The exhibition's name and type.
- The booth's location and number.
- The allowed space, dimensions, and height.
- Entrance and exit locations.
- Neighboring booths.
- The nature of the audience.
- Expected visitor count.
- The organizer's requirements.
- Services available on-site.
- Setup and teardown times.
- The client's commercial objective.
Booth design for a tech exhibition differs from one for a real estate, medical, or consumer show. In a tech exhibition, an interactive experience and simplified explanation may be essential, while a real estate booth needs to showcase projects, welcome clients, and provide private discussion areas.
Stage Two: Building the Creative Concept
After understanding the objective, the team moves to shaping the booth's big idea. This idea must answer a simple question: why should a visitor stop in front of this booth? A creative concept isn't a long tagline — it's a complete vision that connects:
- Brand identity.
- The core message.
- The booth's shape.
- The visitor journey.
- The content on display.
- The type of interaction.
- The call to action.
A practical example
If the company offers smart-city solutions, the concept might be: ‘From data to a smarter city.’ This idea then translates into:
- An open entrance resembling a city gate.
- Screens showing data flow.
- An interactive model demonstrating the solution.
- A path taking the visitor from the problem to the outcome.
- A meeting area to discuss collaboration opportunities.
This way, the design becomes a visual story rather than a set of disconnected elements.
Stage Three: Visual Identity Design
Visual identity is the first language the booth speaks to the visitor. It must be clear from a distance and legible from multiple angles. Identity elements include:
- The logo.
- Colors.
- Typography.
- Imagery.
- Key messages.
- Icons.
- Graphic style.
- Printed and digital materials.
- The booth team's attire.
Important identity rules
- Make the logo clear without annoying repetition.
- Use one core message instead of cluttering the walls with text.
- Choose appropriate contrast between background and content.
- Don't display long paragraphs on the walls.
- Use images to illustrate value, not to fill empty space.
- Keep identity consistent between the booth and digital platforms.
- Make key information readable as the visitor walks by.
A booth isn't a website page; the visitor sees it from a distance and may give it only a few seconds to decide whether to step in.
Stage Four: Space Planning and the Visitor Journey
How space is distributed matters as much as the exterior form. A good booth invites the visitor in without making them feel crowded or blocked.
The booth's core zones
A booth may include:
- A striking, attention-grabbing facade.
- A reception area.
- A product display area.
- An interactive experience space.
- An open meeting area.
- Private meeting rooms.
- A presentation or session stage.
- A hospitality area.
- Back-of-house storage.
- A lead registration point.
The movement rule
Design the booth from the visitor's perspective:
- What do they see as they approach?
- What's the first message they receive?
- Where do they head after entering?
- What activity will draw them in?
- How do they move into a conversation?
- How is their data captured?
- What will they take away after leaving?
Pathways should be clear, and the design should avoid placing a large reception desk in the middle of the entrance or visual barriers that block the booth from view from the aisle.
Stage Five: Choosing Materials and Construction
Once the concept and layout are approved, the design begins turning into buildable elements. This is where choosing materials matters, guided by three criteria:
- Quality.
- Safety.
- Fit with budget and timeline.
Common booth materials
- Treated wood.
- Aluminum and metal structures.
- Glass.
- Acrylic.
- Printed fabrics.
- Digital screens.
- Concealed lighting.
- Raised flooring.
- Suspended elements.
- Recycled materials.
Not every visually striking element is practical to build. A design might look great in a 3D render but require heavy weight, a long setup time, or special approvals. That's why the design and production teams need to review the concept together from the start.
Stage Six: 3D Design and Technical Detail
Before manufacturing, the client needs a clear picture of the booth from more than one angle. A single perspective isn't enough, since details that look good from the front might not work from the sides or back. A design package typically includes:
- A floor plan.
- Booth elevations.
- 3D perspectives.
- Lighting distribution.
- Screen placements.
- Material and color details.
- An electrical plan.
- Furniture placement.
- Print panels.
- Installation details.
- A bill of materials and specifications.
This stage gives the client a chance to review the design before committing to manufacturing, reducing the odds of costly on-site changes.
Stage Seven: Content and Technology
Screens don't automatically make a booth smart. Technology has to serve the message and help the visitor understand, experience, or take a step forward.
Effective uses of technology
- A short intro screen.
- An interactive product experience.
- 3D simulation.
- Live data displays.
- Lead registration.
- Meeting booking.
- An interactive wall.
- A VR or AR experience.
- Digital translation or guidance.
- Content tailored by visitor type.
Common mistakes
- Playing a long video no one watches to the end.
- Using too many screens without a purpose.
- Relying on an unstable internet connection.
- Displaying small or illegible text.
- No staff member to explain the experience.
- No backup plan if the technology fails.
Content should be short and layered: a quick message for passersby, a brief explanation for the interested, and deeper detail for anyone who wants a meeting.
Stage Eight: Manufacturing and Preparing the Booth
Once the design is approved, production begins. The manufacturing plan should include a careful review of every element:
- Material quality.
- Color accuracy.
- Print dimensions.
- Structural safety.
- Floor load capacity.
- Screen mounting.
- Electrical wiring.
- Ease of maintenance.
- Availability of spare parts.
- Fit between components and setup timing.
It's best to pre-assemble or test critical elements before heading to the exhibition site, especially for booths with large screens, tall structures, or interactive components.
Stage Nine: Installation at the Venue
Setup day is the real test of the planning. Time on-site is often limited, and multiple companies and vendors may be working in the same space simultaneously.
Installation checklist
- Arrive before the scheduled time.
- Review site dimensions.
- Inspect flooring, walls, and heights.
- Install the core structure.
- Lay flooring.
- Run electrical and lighting.
- Install screens and equipment.
- Mount signage and identity elements.
- Bring in furniture.
- Test audio and video.
- Clean the booth.
- Do a safety review.
- Photograph the final state.
- Run an operational rehearsal.
Booth testing shouldn't be left until the exhibition opens. A final walkthrough should cover design, identity, technology, furniture, and the visitor path.
Stage Ten: Managing Execution Day
A booth doesn't succeed just because construction is complete. The team working inside it is a core part of the design. Prepare the team on:
- Participation objectives.
- Key messages.
- How to welcome visitors.
- Qualifying questions.
- Data capture.
- Explaining the product.
- Handing visitors off to sales.
- Handling objections.
- Managing VIP guests.
- Adhering to identity and appearance standards.
- Emergency procedures.
A booth can be architecturally excellent yet still fail if the team is glued to their phones, doesn't know how to explain the product, or pressures visitors uncomfortably.
Case Study: LEAP Booths
LEAP is a visually hyper-competitive environment; it's a global tech platform bringing together major corporations, startups, investors, and experts. Official participant pages showcase numerous company booths inside the Riyadh Exhibition & Convention Center in Malham, such as SAP's booth in the 2026 edition.
In an environment like this, writing the company name on a big wall isn't enough. What's needed is:
- A tech message that a non-specialist can understand.
- An experience that explains the product quickly.
- A visual hook visible from the aisle.
- A meeting space for clients and partners.
- Organized lead registration.
- Shareable, photograph-worthy content.
- A design that reflects innovation without sacrificing clarity.
Case Study: The KAFD Booth
The King Abdullah Financial District, or KAFD, is a brand tied to urban development, business, innovation, and the modern-city experience. KAFD participated as a sponsor at Cityscape Global in Riyadh, where its booth showcased a range of district assets, including offices, facilities, residences, and smart-city initiatives.
This kind of project shows that a real estate or urban booth shouldn't rely on beautiful imagery alone — it needs to explain:
- What the project represents.
- What it's made up of.
- Who the target audience is.
- What value it delivers.
- How the visitor can engage with it.
- What the next step is after the visit.
A booth experience can be built around a gradual journey: a quick introduction to identity and vision, a visual showcase of the site or project, an interactive experience of its components, an explanation of services and value, a meeting area for partners and investors, then capturing interest or a meeting request. This is where merging architectural design with content becomes crucial — the booth needs to be understandable even to a visitor seeing it for the first time.
Common Mistakes in Exhibition Booth Design
Focusing only on form
A booth might look beautiful in photos but lack proper spaces for meetings, lead capture, or product display.
Message overload
Displaying every service the company offers on the walls confuses the visitor. Pick one core message, then use the experience or conversation to deliver the details.
Ignoring visibility from the aisle
The logo and core message should stay visible from a distance, not hidden behind furniture or screens.
A design that doesn't fit the audience
A booth aimed at investors needs privacy and conversation spaces, while one aimed at the general public needs a more open, fast-paced experience.
Adding technology without a strategy
Every screen or experience should answer the question: what does the visitor gain from this? Without an answer, technology becomes a cost and a distraction.
Not testing execution
A 3D design doesn't always reveal lighting, sightline, movement, or audio issues. That's why an operational review before opening is essential.
Metrics for Measuring Booth Success
Don't measure booth success by the number of photos posted alone. Use indicators tied to your participation goal:
- Number of qualified visitors.
- Number of leads.
- Number of meetings.
- Engagement rate with the experience.
- Visitor dwell time.
- Number of quote requests.
- Number of bookings or appointments.
- Team and client satisfaction.
- Value of media coverage.
- Post-exhibition conversion rate.
If the goal is data collection, measure data quality and follow-up speed. If the goal is a product launch, measure the number of demos, inquiries, and conversions.
Suggested Preparation Timeline
| Stage | Suggested Timing |
|---|---|
| Define objective and budget | 12–16 weeks before the exhibition |
| Analyze venue and audience | 10–14 weeks before the exhibition |
| Develop concept and initial design | 8–12 weeks before the exhibition |
| Approve the design | 6–8 weeks before the exhibition |
| Prepare content and experiences | 4–8 weeks before the exhibition |
| Manufacturing and printing | 2–6 weeks before the exhibition |
| Team training | Two weeks before the exhibition |
| Installation and testing | 1–3 days before opening, per venue requirements |
| Operation and evaluation | During the exhibition and immediately after |
Conclusion
Designing a successful exhibition booth is a process that starts with the right question: what outcome do we want to achieve? It then moves through understanding the audience, building the concept, designing the identity, planning movement, choosing materials, preparing content, manufacturing, installation, and operation.
A booth that draws attention matters, but the booth that explains value, creates engagement, supports the sales team, and leaves trackable data is the booth that delivers a real return.